Connecting a Pulsar
In this section we will explain how to connect a Qblox Pulsar QCM or QRM module to your host PC. Please make sure that you have the Qblox instruments package installed before proceeding (see section Installation) and that your host PC has an Ethernet port.
Connecting to a single module
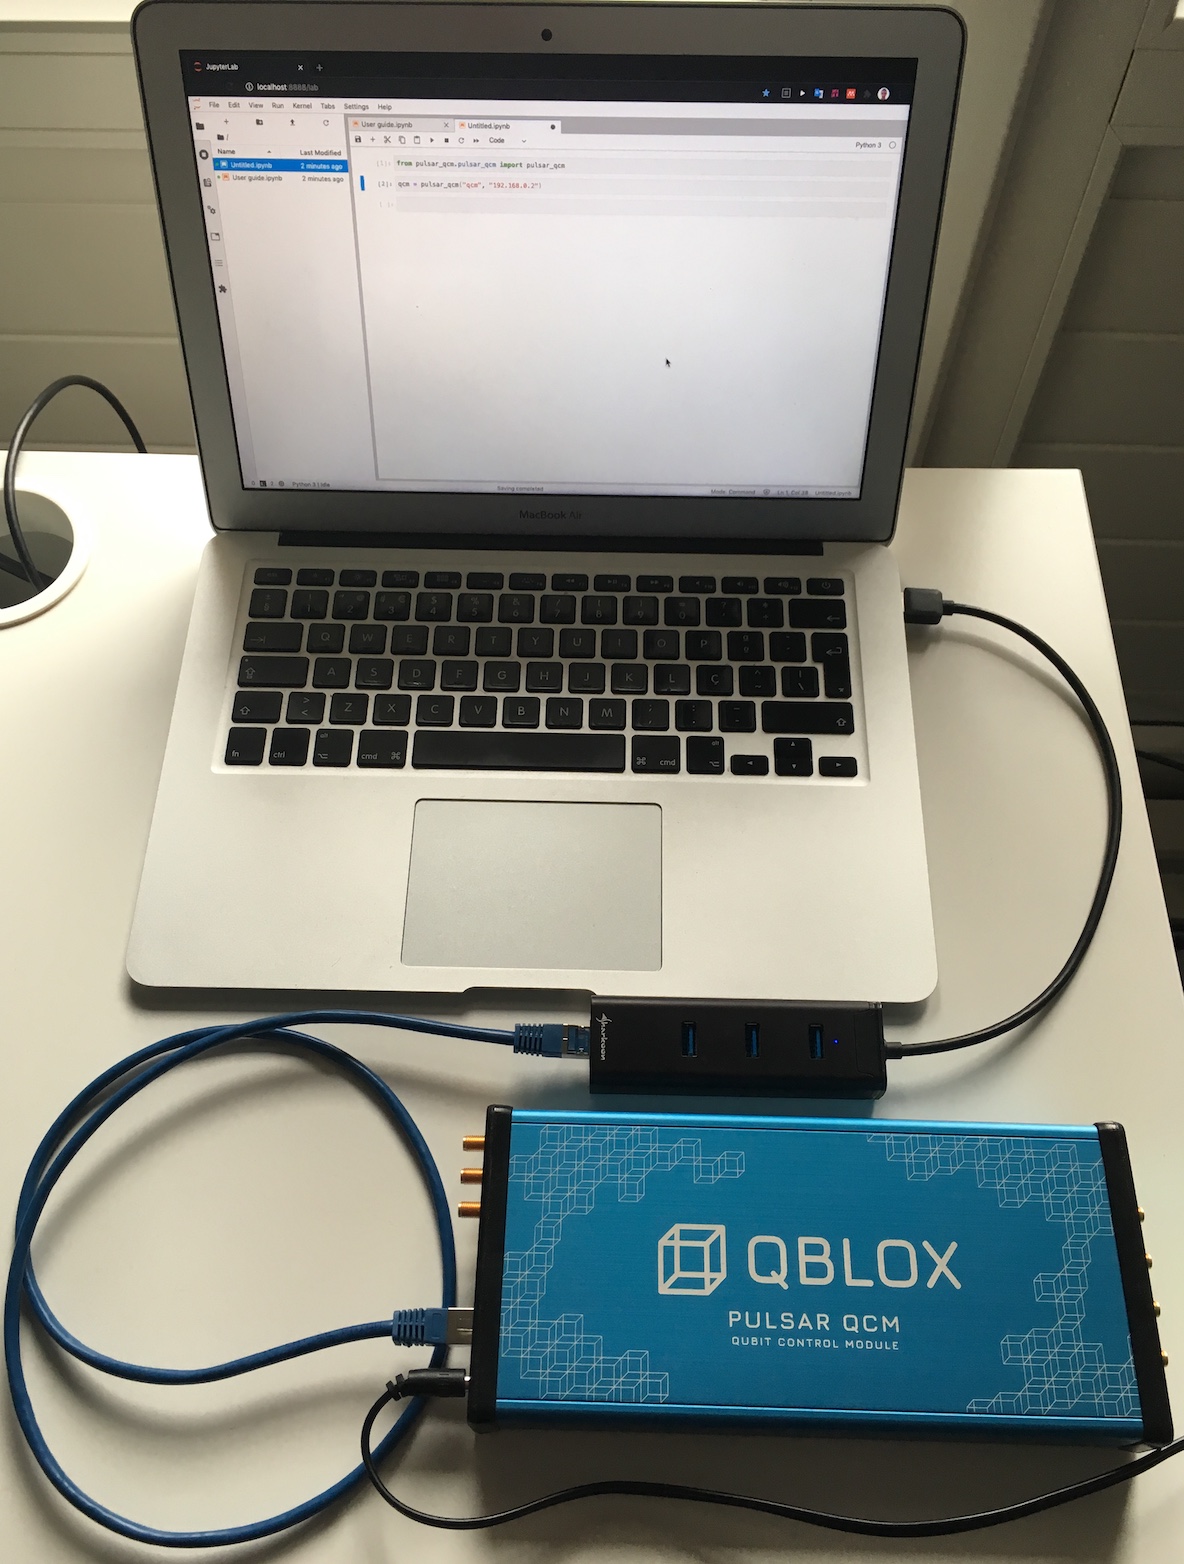
As an example, we will consider a setup composed of:
A laptop (host PC) with a USB Ethernet adapter.
A Pulsar QCM.
The following steps will allow you to successfully connect the module to your local network:
Connect the module to your host PC using an Ethernet cable.
Power up the module. The module is ready when all LEDs turn on (See section Frontpanel LEDs).
Configure the network adapter of the host PC, so that its IP address is within subnet
192.168.0.X(whereXis in a range from 3 to 254). Make sure the subnet mask is set to255.255.255.0.Note
Configuration of a network adapter varies slightly between operating systems. See section Network adapter configuration for a Windows, Linux and MacOS description.
At this point your setup will look similar to the example setup in the figure below:

After a few seconds, the module should be present on the local network. You can verify this by executing the following command in a terminal of your choice.
Note
The default IP address of the module is
192.168.0.2. Replace the IP address of any following instruction accordingly if the IP address of the module was ever changed. See section Finding the IP address of a module in case you do not know the IP address.$ ping 192.168.0.2 # Press Ctrl + C to terminate the program
If successful, the output should be similar to the following example output:
PING 192.168.0.2 (192.168.0.2): 56 data bytes
64 bytes from 192.168.0.2: icmp_seq=0 ttl=64 time=0.396 ms
64 bytes from 192.168.0.2: icmp_seq=1 ttl=64 time=0.232 ms
64 bytes from 192.168.0.2: icmp_seq=2 ttl=64 time=0.261 ms
Finally, connect to the module from your host PC by running the following snippet using a Python 3.8 environment like an interactive shell or a Jupyter Notebook:
# Import driver
from pulsar_qcm.pulsar_qcm import pulsar_qcm

# Connect to module
qcm = pulsar_qcm("qcm", "192.168.0.2")
Tip
Close the connection to the module using
qcm.close().
Connecting to multiple modules
To be able to control multiple modules (e.g. a Pulsar QCM and QRM) we need to follow the steps described in Connecting to a single module except, now:
Instead of connecting a module directly to the Ethernet adapter of the host PC, we will connect all the modules and the host PC to the same network using, for example, an Ethernet switch.
The IP address of the modules must be changed to avoid IP collisions. See section Updating for further instructions on updating the IP address of the modules.
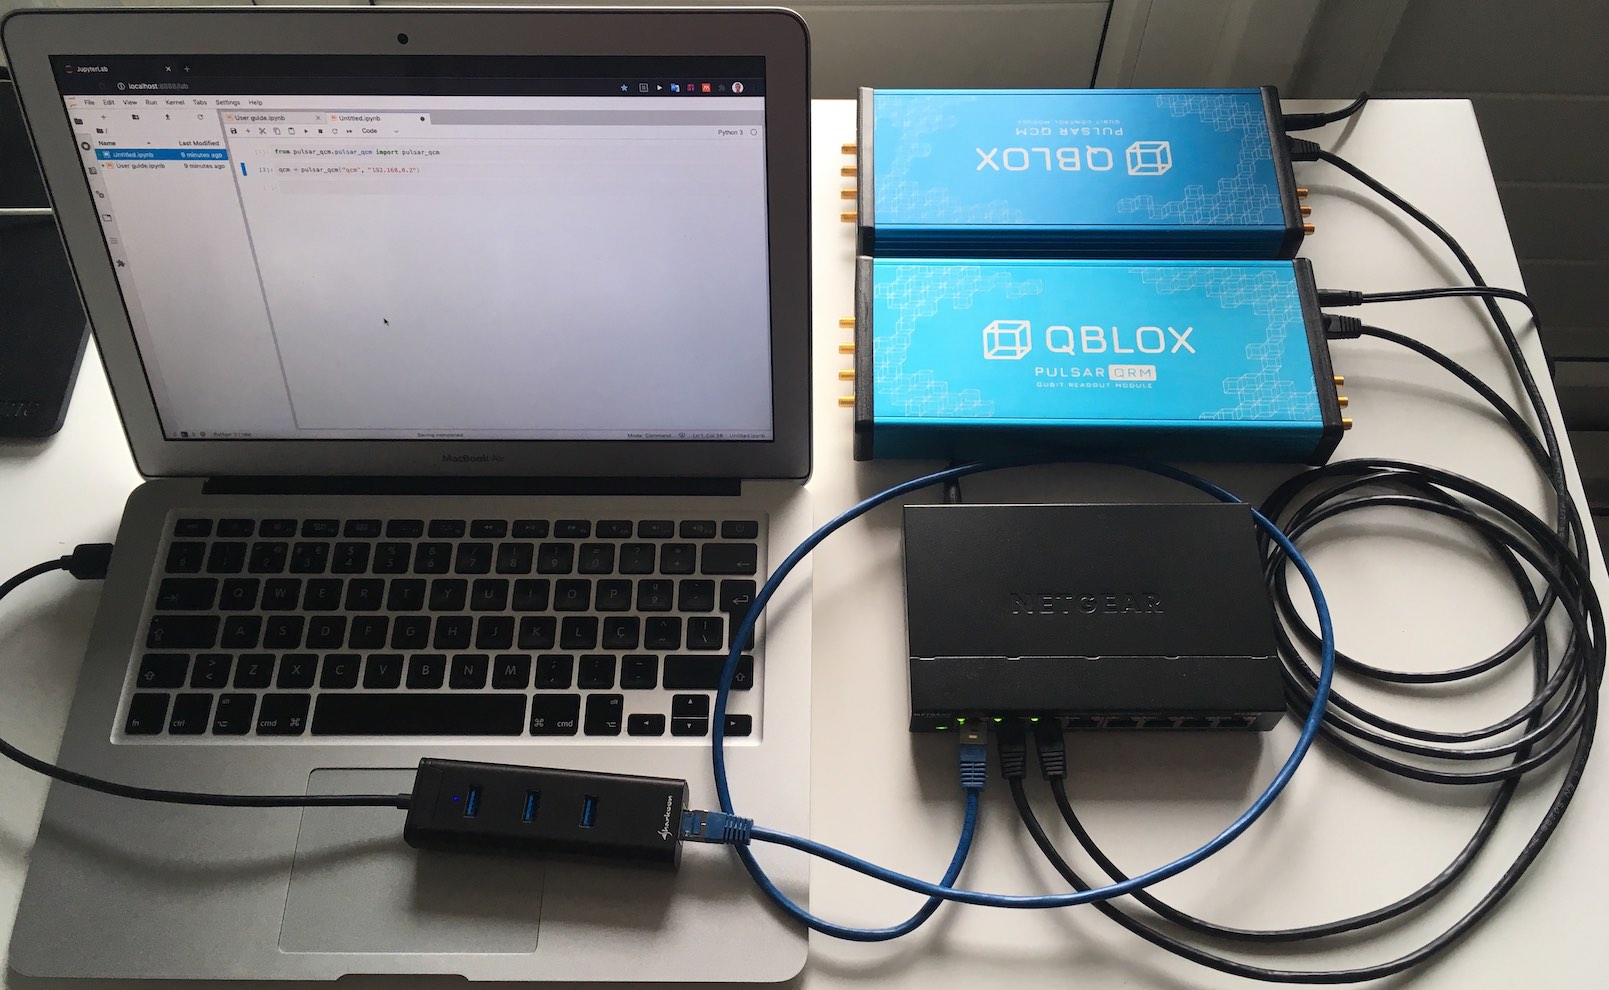
As an example, we will consider a setup composed of:
A laptop (host PC) with a USB Ethernet adapter.
A Pulsar QCM.
A Pulsar QRM.
A network switch.
The following figure shows the example setup:

The following python code lets us connect to the modules in the example setup:
# Import drivers
from pulsar_qcm.pulsar_qcm import pulsar_qcm
from pulsar_qrm.pulsar_qrm import pulsar_qrm

# Connect to modules
qcm = pulsar_qcm("qcm", "192.168.0.2")  # This module uses the default IP address.
qrm = pulsar_qrm("qrm", "192.168.0.3")  # This module's IP address was changed.
Note
When using multiple modules in your setup, you might need to synchronize the in- and outputs of the various modules. See section Synchronization the learn how to do this.